To mill rough boards to size by hand, I use a jack plane, and a jointer plane, or try plane as it would be called in the period this chest is based on. The jack plane is the coarsest set plane. It has a 2 inch wide iron with a curved edge, ground to an arc of a circle with about a 9 inch diameter. After planing the board's face as flat as I could get it with the jack plane, I move on to using my jointer plane to get it as flat as possible. The jointer plane has an iron a bit wider, and its edge has a smaller radius, and takes a thinner shaving.
 |
| The jack plane has a narrow iron with a small radius edge |
 |
| I project the iron about 1/32" sometimes as much as 1/16 |
 |
| The jack plane leaves a scalloped surface behind with its highly radiused edge. It's easiest observed in raking light. |
I then plane an edge straight and square. For me its was the edge with the cherry edge banding, because I did not want to cut any of it off in order to achieve the width I need. Once one edge is straight and square, I measure the final width of the panel from the true edge in two places and strike a line between the two with a straightedge.
After cutting the panels to width, I use my marking gauge set to the panel's final thickness to scribe a mark all around the edges and ends of the panel. Then I use my jack plane and jointer plane to plane the board down to those lines.
 |
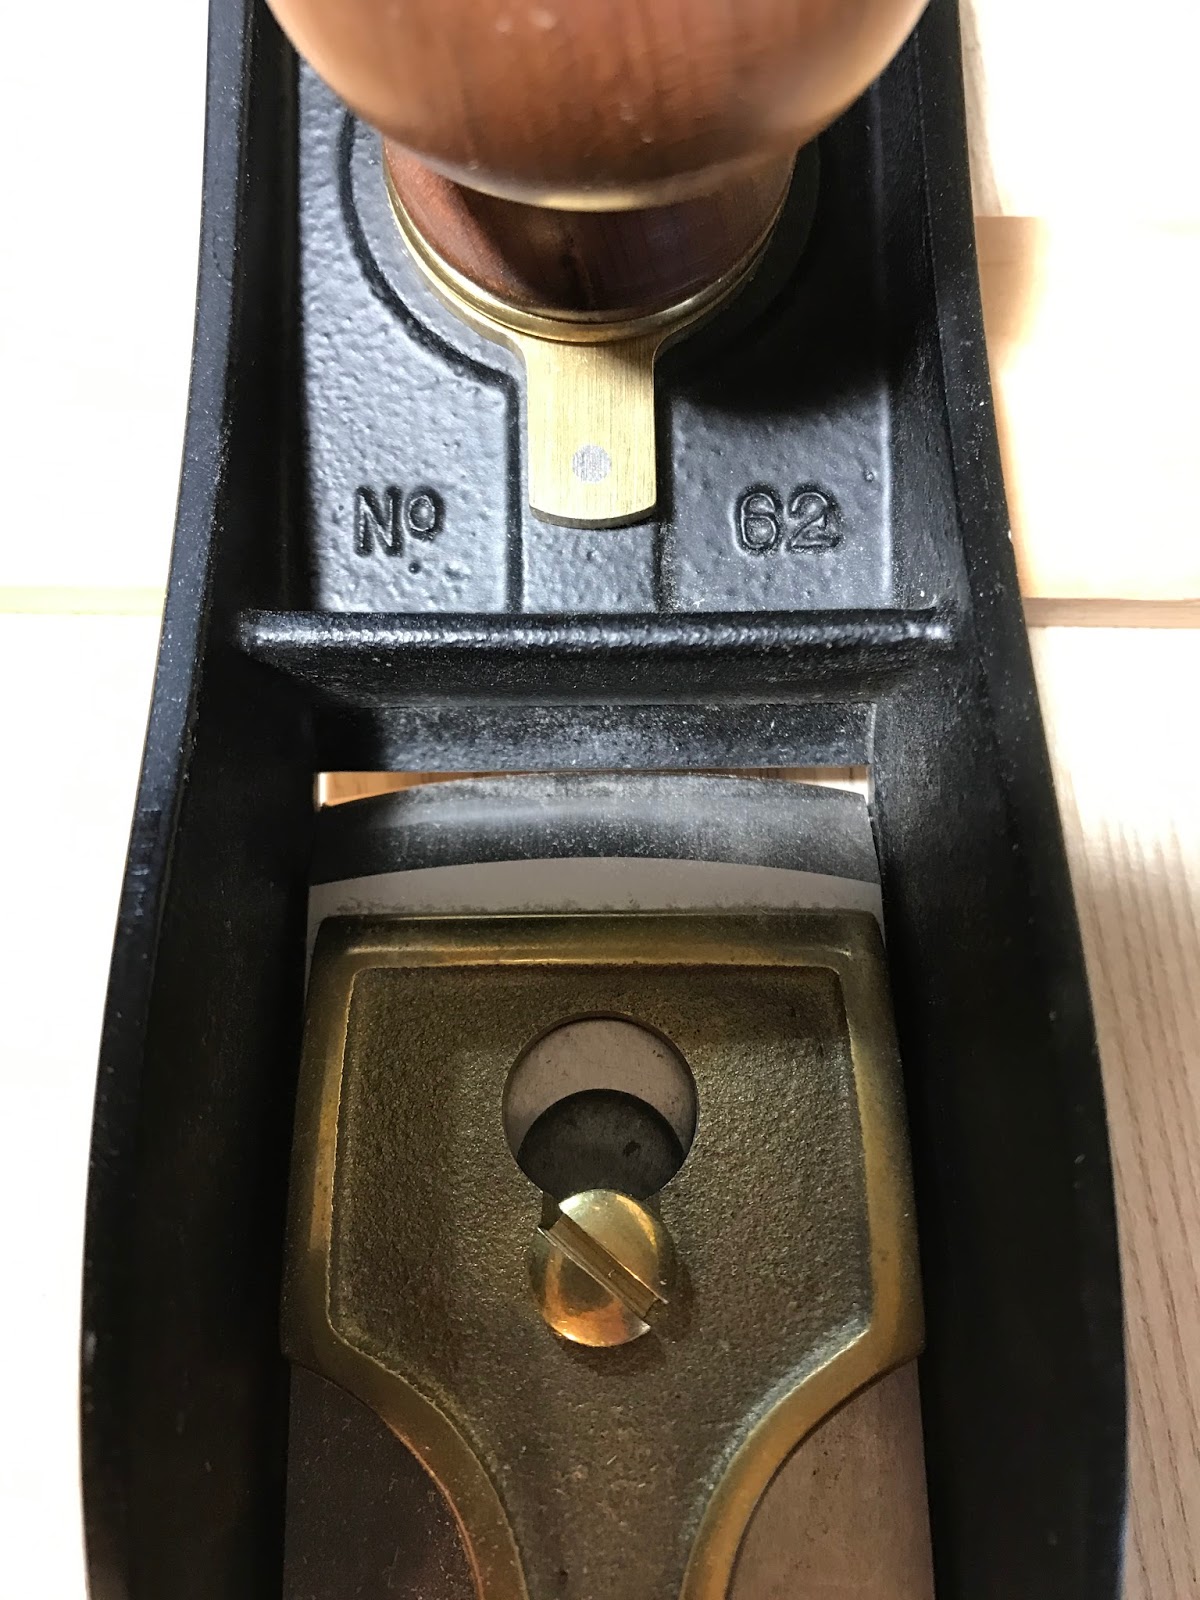
| I use an iron with a straight edge to plane the ends of the boards to length |
 |
| The projection of the iron should be perfectly even |
I mate the edges of the sides of the case together and use a marking knife to layout the final length of the panels. I do the same for the bottom of the case and the top rails. I then strike a line all around both faces and edges with a square, and saw off the ends, and plane them until the knife lines disappear. The boards for the chest's carcase are now milled the their final dimensions.
This comment has been removed by a blog administrator.
ReplyDelete