The next step for the Chest of Drawers was initially going to be the back, but I decided to make the drawers divisions sit in blind dadoes, so the drawer divisions had to come before the back was put in. I cut the rabbets on the case sides before any layout was done for the dadoes. I used my shoulder plane to cut the wide, deep rabbet, and worked my way down to the scribe line.
Cutting the rabbet with a shoulder plane
I marked out one wall of the dado, then put the edge of the drawer divider up to that line, and marked for the other wall. I can't use a fractional measurement because I dimensioned the stock by hand, so it did not come out to exactly the thickness I was shooting for, nor were the two faces perfectly parallel. I used chisels to do the coarsest excavation of the waste, and established a consistent depth with the router plane.
Using the router plane to cut the dados to a consistent depth
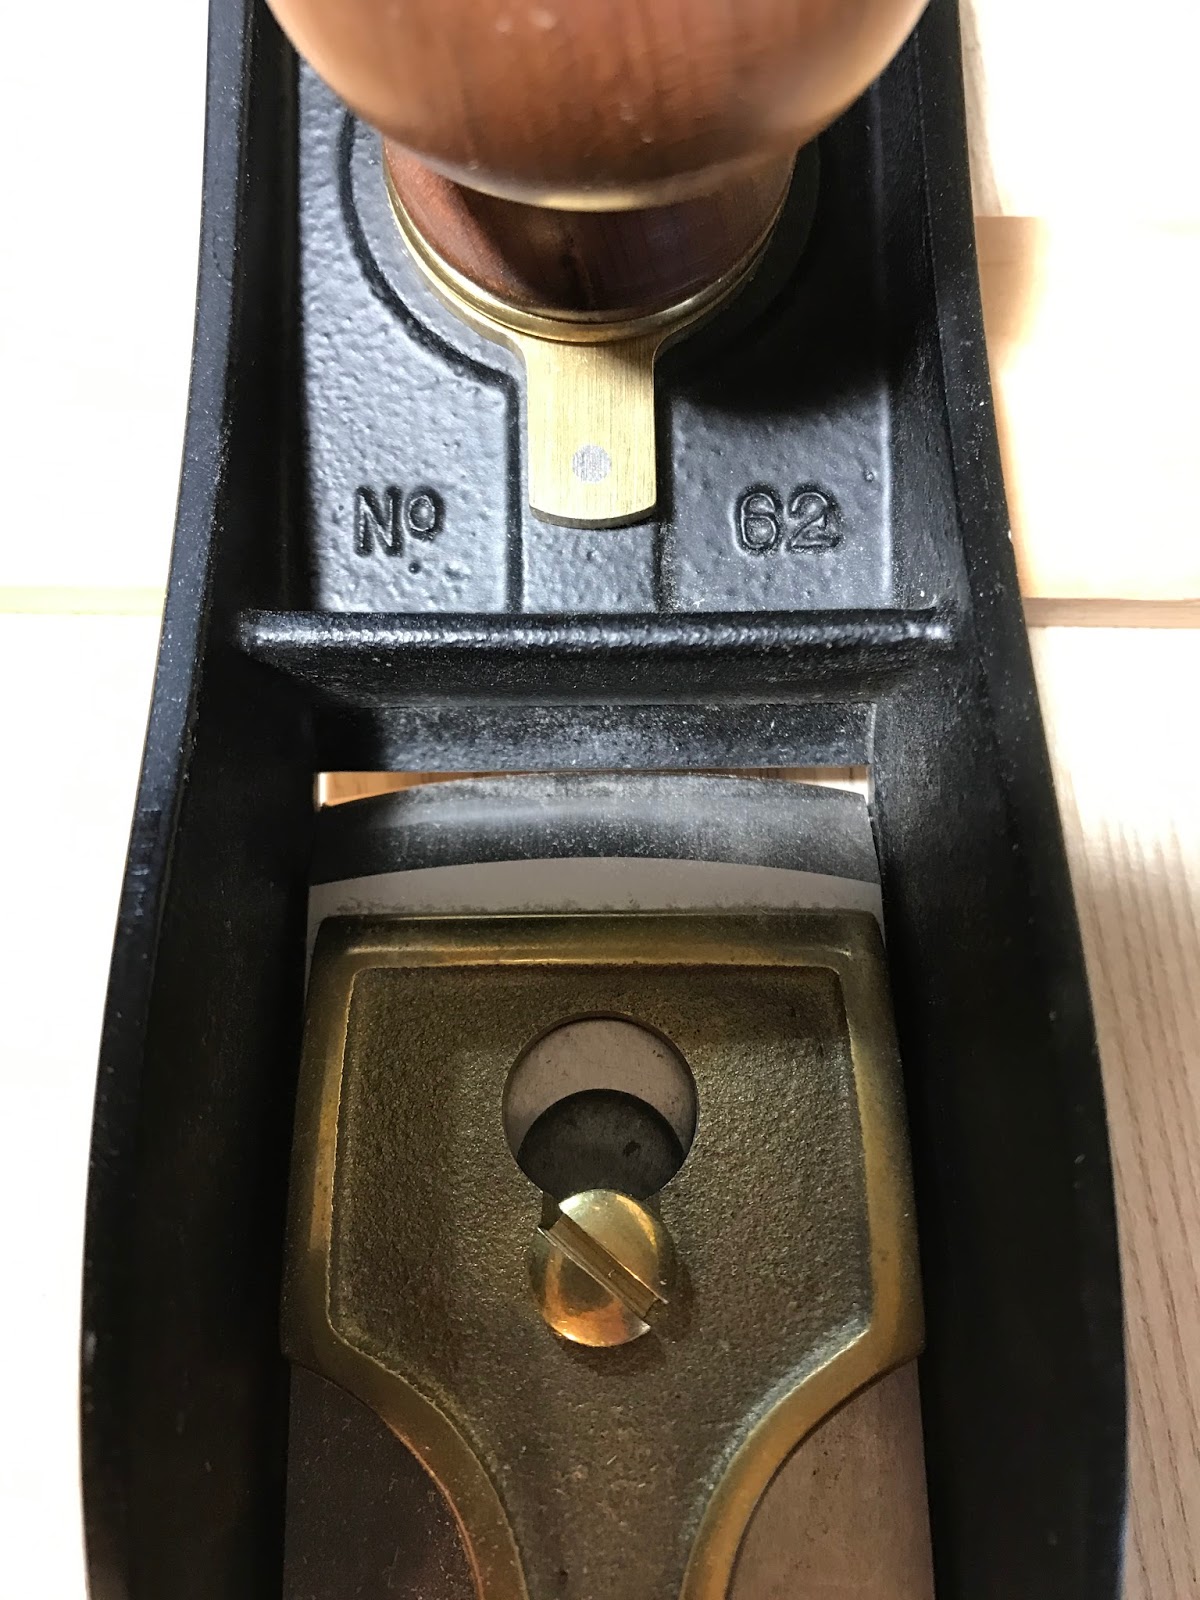
I then turned my attention to the joinery for the drawer divisions. I used web frame dividers, and the drawer runners are mortise and tenoned into the dividers. Since there is a dovetailed partition between the top drawer frame, the drawer runner in the center of the top drawer runner has a split tenon to go around the dovetail's socket, not through it. The mortise was too short in length to chop it out all by hand, and still be able to efficiently excavate the waste, so I chucked a 1/4 inch auger into my brace, and bored out the mortise and finished up the walls with chisels.
Boring the mortises with the brace
Squaring the mortise with a mortise chisel
The other drawer runners are joined with a joint similar to a mortise and tenon joint, but one wall of the mortise is free. This makes chopping out the other six mortises much quicker.
Chopping the mortises on either end of the drawer divisions
Then I cut the tenons with my tenon saw, and cut the cheeks off with the flush cut saw and a guide block, just like I did for the tenons joining the top rails.
Sawing tenon cheeks
Once the mortise and tenons had been cut and fit, I glued the web frames together overnight. The next day, I cut the slot dovetails for the dovetailed partition. The dado is 1/8 inch deep, and serves mainly to capture the partition, and prevent it from racking. The dovetail is only 5/8 inches deep, so it does not provide very much resistance to sideways stress. I define the walls of the dado with a knife, and excavate the waste coarsely with a chisel, and establish the final depth with a router plane.
Roughing in the slot dovetail's dado with a wide chisel
Establishing the final depth with the router plane
After the dado is cut, I mill a small strip of wood that is as thick as the dado is deep. This is so that I can use one marking gauge setting to scribe the bottom of the dovetail socket, and the baseline for the dovetail because I can put the strip of wood on the end of the tailboard when I scribe the baseline for the dovetail. I have found that this is much more accurate than measuring the depth of the dovetail socket minus the depth of the dado.
The thin strip of wood is as thick as the dado is deep
scribing the depth of the dovetail socket
Scribing the dovetail's baseline using the strip of wood as a spacer
After the baseline has been scribed, I cut off the dovetail's shoulder, and pare away the waste to the baseline.
Sawing the depth of the dovetail
Sawing the shoulder of the dovetail
Paring to the baseline
After the shoulder has been established, I mark out the slope of the dovetail, and saw the tail, and remove the waste.
Sawing the dovetail's sloped sides
Sometimes a little bit of paring has to be done to the slope of the tail, so I clean up the tails if I have to, then slide the tailboard into the dado, clamp it in place, and use a pencil to transfer the marks onto the dividers. I use a pencil, because very little of the divider's edge will be planed away, so the knife line will most likely be left behind, and it will make it look like there are gaps in the dovetail.
Marking the dovetail onto the drawer divisions
I then square line into the dado, and saw the walls of the dovetail socket. I pare away the waste with a chisel, but tilt the chisel towards the dovetail's slope, to help prevent any waster from bruising the corner of the socket.
Sawing the dovetail socket
Chiseling out the waste at an angle to prevent break out on the corner
I try to saw as close to the pencil line as I can without removing it. It is difficult to trim the dovetail joint without cutting against the grain. When a slot dovetail is assembled, the cross grain orientation of the joint means that there is little compression in the joint if there is any fat preventing a good fit. Usually what happens instead is the fragile corners of the dovetail socket crack or break off, and this can also happen when disassembling the joint, so I try my best not to force the joint.
Dry fitting the slot dovetail partition. The pencil line on the left of the tail looks like a gap, but will get planed away later
There is a specific order in which the divisions and the partition must be assembled and glued together. First the case's four sides must be glued together, and then the case's edges must be planed around to make sure they are all coplanar. After that, the divisions can be glued in, and after the glue has cured, the high edges can be planed down to the same level of the case's edges. This ensures the drawers' fronts will be flush with the case's edge and the drawers divisions. After the divisions have been flushed to the edges, the dovetail can be inserted, with glue if the fit is any bit sloppy, but it's not one-hundred-percent necessary. After the dovetail has been fit, it can be flushed to the divider's edges.
Making the edges of the case coplanar
Gluing in the drawer divider, with the dovetailed partition slipped in dry to make sure the divisions are glued in the way they will set when everything is assembled.
With the case pieces milled to their final sizes, it's now time to join them together with hand cut dovetails. In order to keep track of the parts, I mark a cabinetmaker's triangle on the reference edges of the boards. In my opinion, it is the most efficient, easiest way to keep track of case parts for dovetailing.
Cabinetmaker's triangles keep track of case sides
Before I lay out and cut the dovetails, I use the "140 trick," a shallow rabbet on the end of the tailboard to make it easier for the tailboard to register on the corner of the pin board when I am transferring the tails onto the pinboard. I use either a shoulder plane, or No. 140 skew rabbet plane to cut the rabbet.
Using a shoulder plane to cut the shallow rabbet on the tailboard
I cut my dovetails tails first, and sandwich the two tailboards together to "gang cut them." The most consistent way to mark out the spacing for dovetails is with a pair of dividers. Since the chest was going to be veneered, I cut 6 very wide tails, and one half tail, which will cover up the rabbet holding the case's frame and panel back in place. I then used a combination square and dovetail marker to draw the angle of the dovetail, I used a 1:6 slope, and a square line across the end of the boards.
Laying out the spacing of the dovetails with dividers.
Gang cutting the dovetails.
I use a coping saw and chisels to remove the waste between the tails. In The Joiner and Cabinetmaker, Thomas uses a chisel to remove the waste between the pins and tail because the coping saw was not invented yet, but I used the coping saw as it provided a modern convenience. The important thing is that it is still a hand tool.
Coping out the waste between the tails.
This is as close as i try to get with the coping saw.
Cutting the shoulder. It is important to use the full length of the saw.
Chopping to the baseline.
I propped up the end of the tailboard with a block of wood to make it easier to position it on the end of the pin board when I transferred the tails onto the pinboard. I use a spear point marking knife to transfer the marks, not a pencil. A knife has no kerf and you know exactly where to saw; whereas, a pencil can mark next to the nail not right on it, which could result in a gap. Then I mark a line square to the end of the board to define the pins.
Transferring the tails to the pinboard with a marking knife.
I then saw to the baseline, cope out the waste, and chisel to the baseline.
Sawing the pins.
Coping out the socket.
Most of the time when you thickness lumber by hand, the faces of the boards aren't perfectly parallel. Usually what results from that is the pins on one portion of the joint are flush, and on another portion they are proud or below the surface of the tailboard.
Pins are proud of the surface of the tailboard on the right side of the joint
Pins are flush with the tailboard on the left side of the joint.
The rails that hold the top of the case together have drawer kickers mortised into their edges. I chopped out the 1/4 inch mortises with a mortise chisel, and cut the tenons on the kickers with my tenon saw. These joints are easier than mortise and tenons that join aprons to legs on a table because the joints aren't really seen, so the fit of the tenon's shoulders don't have to be perfect.
Chopping the mortise in the rail
Sawing the tenon
I cut the tenon's shoulder with a flush cut saw and a guide block. Here is another modern convenience I am using that Thomas didn't have. I knew that using the flush cut saw and a guide block would be an accurate way to saw the tenon's shoulder by hand, and leave only a little but of wood left to pare down to the baseline, plus I just bought the flush cut saw and I was excited to use it for the first time on a real project.
Sawing the tenon's shoulder with a flush cut saw and guide block
This Chest of Drawers is starting to take shape. I was able to glue the top rails and the kickers together, but the rest of the case can;t be glued together until I cut the rabbets on the back edge of the case sides, and the dadoes for the drawer dividers, which I will cover in the next blog post.
In the previous post, I cut all of the parts of the chest of drawers, and glued up the panels for the case in the rough. Now that the glue has cured overnight, I can begin milling the case sides to size.
To mill rough boards to size by hand, I use a jack plane, and a jointer plane, or try plane as it would be called in the period this chest is based on. The jack plane is the coarsest set plane. It has a 2 inch wide iron with a curved edge, ground to an arc of a circle with about a 9 inch diameter. After planing the board's face as flat as I could get it with the jack plane, I move on to using my jointer plane to get it as flat as possible. The jointer plane has an iron a bit wider, and its edge has a smaller radius, and takes a thinner shaving.
The jack plane has a narrow iron with a small radius edge
I project the iron about 1/32" sometimes as much as 1/16
I begin using my jack plane, taking strokes across the surface of the board. Boards are likely to have a cup or a bow across their width, so this process removes the curvature, while also exploiting the wood fibers; weakness across the grain. Then I move on to diagonal strokes across the board in order to achieve flatness. I follow the jack plane with the jointer plane, also in diagonal strokes, and once the jointer plane removes the scallops left by the jack plane's rank cut. I finish with strokes along the grain.
The jack plane leaves a scalloped surface behind with its highly radiused edge. It's easiest observed in raking light.
I did not capture any photos of the winding sticks that I use to observe "wind," twist, in the board. Winding sticks are simply a pair of narrow boards whose edges are parallel. They are usually around 30 inches long or so, and I made mine out of dark wood and inlaid light colored wood in the corners of one of them. I lay one at each end of the board I am flattening, and sight across the edge of the sticks. Usually one side of the stick is higher. That means that that corner of the board is higher than the rest of the board, and usually the corner diagonally across from that corner is also high. I work across the grain on the high corners with my jointer plane until the winding sticks are parallel. I then check a few more points of the board closer to the middle of its length, and make sure the sticks are parallel there too. It is worth all the effort in getting these boards as flat as possible, because they provide the dimensions for the rest of the chest, so its best that you start out with them being accurate.
I then plane an edge straight and square. For me its was the edge with the cherry edge banding, because I did not want to cut any of it off in order to achieve the width I need. Once one edge is straight and square, I measure the final width of the panel from the true edge in two places and strike a line between the two with a straightedge.
After cutting the panels to width, I use my marking gauge set to the panel's final thickness to scribe a mark all around the edges and ends of the panel. Then I use my jack plane and jointer plane to plane the board down to those lines.
I use an iron with a straight edge to plane the ends of the boards to length
The projection of the iron should be perfectly even
I mate the edges of the sides of the case together and use a marking knife to layout the final length of the panels. I do the same for the bottom of the case and the top rails. I then strike a line all around both faces and edges with a square, and saw off the ends, and plane them until the knife lines disappear. The boards for the chest's carcase are now milled the their final dimensions.
It is now Term 4 at my high school, and I am one of many students involved in a W.I.S.E. project. I read The Joiner and Cabinetmaker from Lost Art Press when I was in eighth grade, and I knew I wanted to build the Chest of Drawers Thomas does when he becomes a journeyman. As soon as I found out about the Wise Individualized Senior Experience, I knew that I would finish off my senior year by building the chest. The W.I.S.E. program allows students to pursue an internship or a project and drop certain classes during the final term of senior year.
Photo courtesy of Popular Woodworking
I will be building the chest of drawers completely by hand, the same way Thomas does in the book. I will be building it out of cheap wood, poplar, and veneering it in hardwood, cherry, with a small deviation from the book which is making the drawer bottoms out of aromatic red cedar for the pleasant aroma, ease of workability, and its natural resistance to rot and insects. The purpose of all of this is to experience what a cabinetmaker's apprentice would go through in his seven year journey from apprentice to journeyman. I only have a little more than a month, so my expectations for this will be to complete this project, getting a feel for what it is like to build furniture the way it was done in the nineteenth century.
I bought lumber two weeks ago in order for it to have time to acclimate to my shop before I began planing the boards. It was raining that day, and very hard. I stickered the boards in my garage and set of two fans to circulate air in order to dry out the boards.
Setting them on edge only turned
them into in very short, wide dominoes
The proper solution
After they had dried out, I began cutting them to rough length and width. I compiled a short video of the process.
Pile of sawdust after sawing all the boards by hand
In the book, Thomas glues up his boards in the rough. This goes against everything I know, so I milled up the boards for the bottom, then glued them, and for the sides I jointed each edge, and then glued them.
This causes some problems, because there is no reference face to make sure the edge is square. I essentially had to establish straight and square in space. What I did was use my jack and jointer planes to carefully straighten and smooth one edge, and once I decided it was accurate enough, I compared it to each edge that would be mated to another to ensure that they were accurate as well. It helped that the board I designated as reference was already S4S lumber, but I had to start somewhere. The photo below shows my first attempt at straightening one of the board's edges and comparing it to the reference board. You can see light at the seam at each end of the board.
Light shining through the seam of the two boards at their ends
I then took stopped shavings with my jointer plane until I could see light in the center of the seam. That gap in the center will create a spring joint, and I will only need to use one clamp for gluing the boards together, even though Thomas keeps the boards in his vise after using a simple rub joint for the boards. I used a clamp to close up the gap in the center of the boards to make sure that I could close it up with just one clamp, and that there were no gaps in the glue joint.
The glue joint after some adjustment
The glue joint after testing the glue joint with a clamp
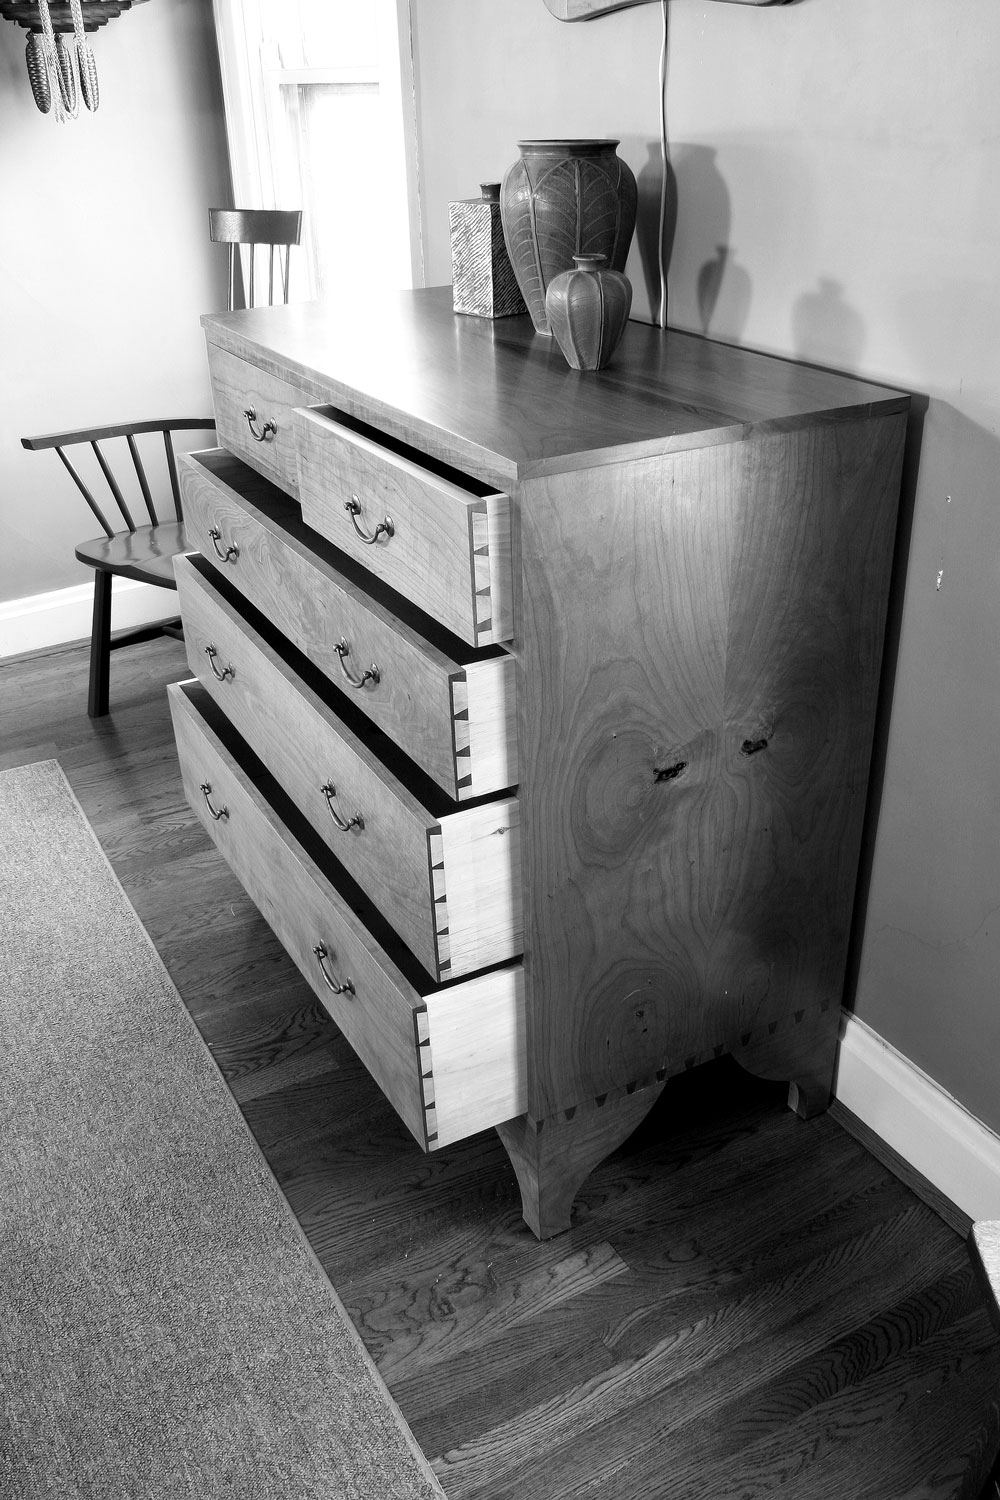
I managed to get all three sides of the carcase glued together today. My next step will be adding the cherry edge banding and milling the panels to their final sizes. The top of the case is attached to a web frame, not a wide panel like the other three sides, so here are the three carcase panels:


